
Digital muddle can go away you feeling confused, make your units gradual, and create roadblocks all through your workday. That’s why it’s important to keep up a clear desktop.
In case your digital area is organized, you’ll be able to shortly accumulate necessary paperwork, tasks, and footage. This may be particularly useful if you happen to use the identical pc for each your skilled and private life.
![Download Now: How to Be More Productive at Work [Free Guide + Templates]](https://no-cache.hubspot.com/cta/default/53/be08853d-7ccb-4ab6-ba13-ef66a1d9b4ff.png)
The excellent news is that protecting your pc’s desktop clear and arranged is simpler than it appears. This submit gathers suggestions that will help you create a clear, organized desktop that helps productiveness.
10 Pc Desktop Organizing Ideas
These group suggestions will enable you flip a cluttered desktop right into a clear and productive workspace. Don’t hesitate to check completely different strategies to see what works greatest on your typical workflow!
1. Create a folder system.
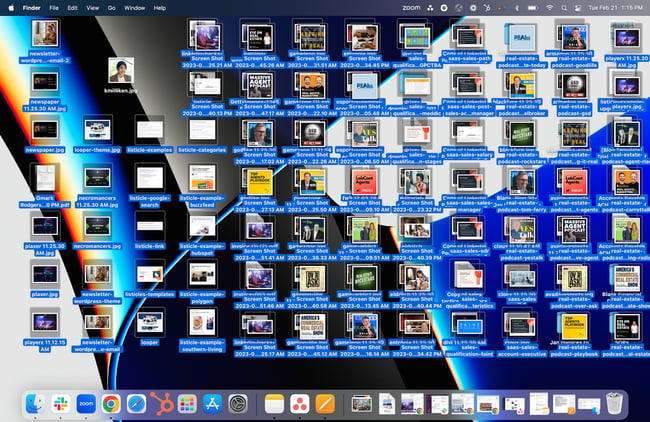
Be sincere: What number of information do you have got in your desktop proper now? 10? 20? 100? Have you ever misplaced depend? In case your desktop appears to be like something just like the picture beneath, begin by shifting all the pieces into one folder to clear the air.
Making a Folder on a Mac
- To create a brand new folder on a Mac, right-click in your desktop and choose “New Folder” from the menu.
- It’s also possible to press Shift + Command + N. The folder will seem in your desktop immediately.
- To vary the folder’s identify, double-click on “untitled folder.” Then, you’ll have the ability to edit a textual content field with a brand new identify.
Making a Folder on a PC
- To create new folders in Home windows, right-click in your desktop.
- Choose New > Folder from the menu or press Ctrl + Shift + N.
- To rename the folder, click on on it, enter a brand new identify, after which press Enter.
After you have your folders created, you’ll be able to divvy up your information. The way you set up your folder system will rely in your particular function.
For instance, I ceaselessly write weblog posts containing many visible examples. To simplify the method and maintain a report of what I’ve included previously, I’ve created two folders: “Present Examples” and “Instance Archive.”
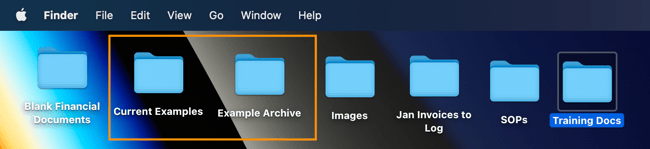
Once I’m rounding up examples for a brand new submit from the net, I drop them within the “Present Examples” folder. This fashion, I can simply find them once I write the submit. After scheduling the submit, I transfer the pictures to the “Instance Archive” folder to make room for my subsequent submit.
2. Select a naming conference on your information.
One in every of my largest worries about implementing a folder system was that it will be too troublesome to seek out my information as soon as I received organized — ironic, proper?
Between paperwork, screenshots, and different information for the a number of posts I work on, there are quite a lot of completely different objects I’m dropping into folders. Information can get misplaced within the shuffle. That’s why I began utilizing a naming conference to prepare my information, which might enable me to find them shortly.
Select a naming conference for varieties of information, subjects, tasks, or every other means that makes it straightforward to seek for them. For instance, once I’m creating information for HubSpot Advertising Weblog posts, I exploit this naming conference:
- MKTG-Draft-OrganizeDesktop
- MKTG-Screenshot-OrganizeDesktop
- MKTG-GIF-OrganizeDesktop
This fashion, it’s straightforward for me to seek out information by typing Command + F (Mac) or Management + F (Home windows) and typing within the naming conference to slim my search.
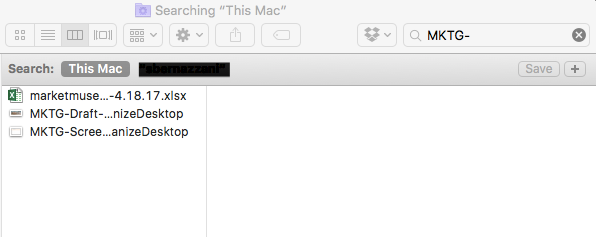
This fashion, I haven’t got to click on into my completely organized, however doubtless very full, folders to seek out precisely what I would like. As a substitute, I can seek for and instantly discover information utilizing my naming conference.
If you happen to’re on Home windows, search by your information sooner by deciding on the right class. You need to use the search bar on the backside of your display screen on Home windows 10 or click on on the search icon in case you have Home windows 11.
As soon as the search window opens, you’ll be able to choose one of many tabs beneath the search discipline. The paperwork tab will slim down your search. It’s also possible to embody the key phrase “paperwork” within the search discipline.
MacOS has an analogous function. When typing a search time period in Highlight or a Finder window, you’ll see a + button subsequent to the search discipline.
Click on this button, and also you’ll entry completely different search standards. You possibly can specify the kind of file you’re trying to find or the file extension.
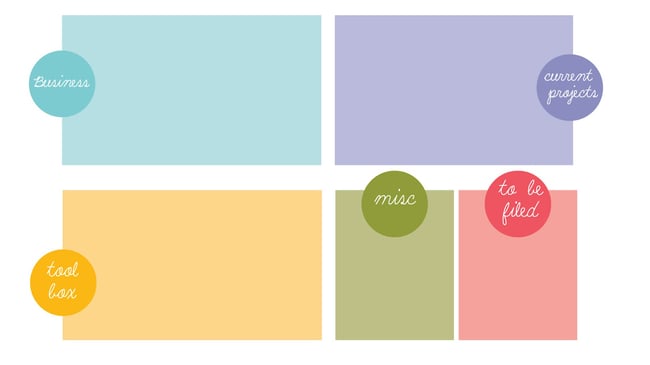
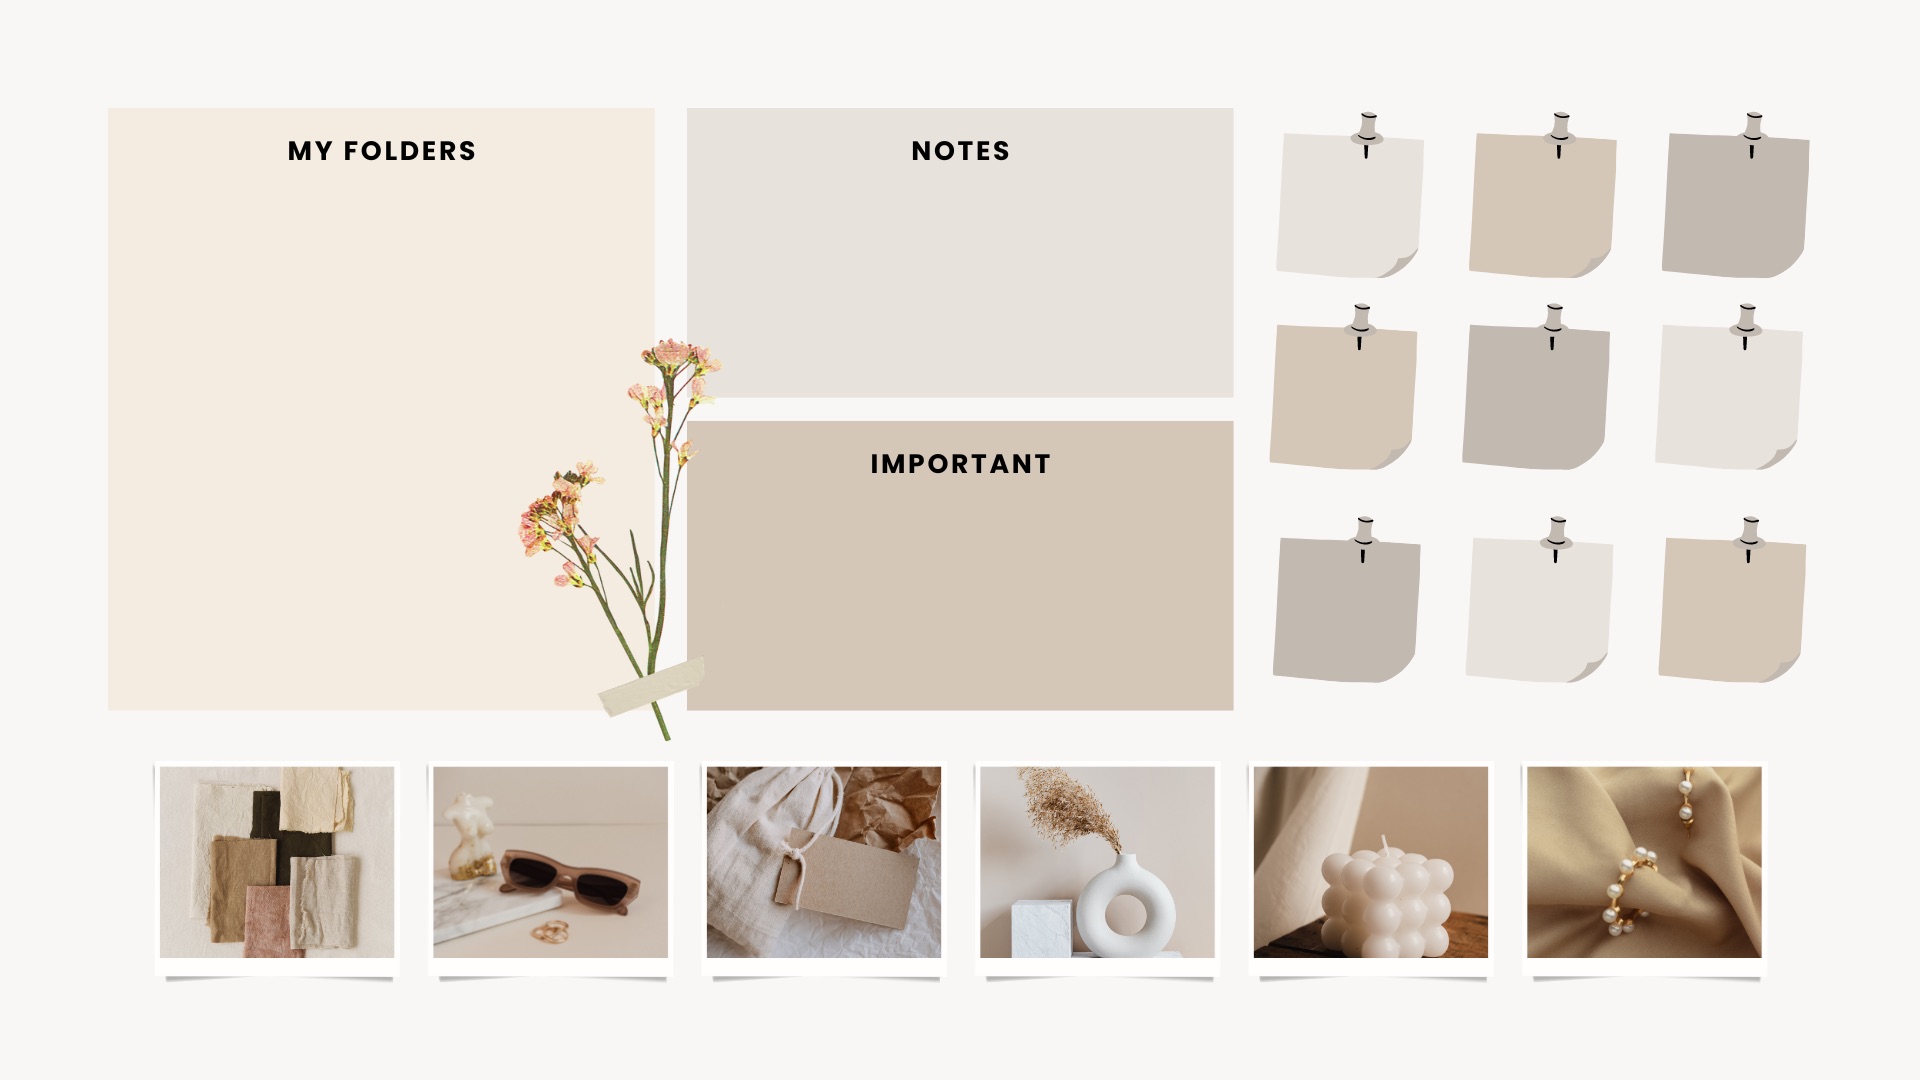
3. Experiment with a sectioned wallpaper.
Wish to take your folder group a step additional?
Whereas your desktop wallpaper is a superb place to show a photograph of your canine or your newest trip, a ton of wallpaper choices might help you keep organized. These wallpaper designs — together along with your folder system — make it straightforward to corral particular sections of your work.
To get you began, we’ve included just a few choices beneath.
[Download here via Wallpaper Safari]

[Download here via Moritz Fine Designs]
Alt Textual content: Lifehacker Organized Wallpaper Design
IMG identify: clean-desktop-sectional-wallpaper-4
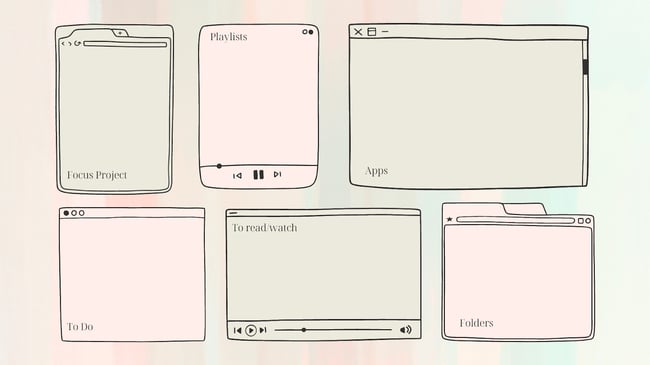
I like utilizing a sectioned wallpaper as a result of it helps you visualize your workday. I’m a fan of utilizing Kanban boards to trace my completely different tasks, and I’ve discovered that utilizing a sectioned wallpaper is a good way to maintain organized.
For example, you’ll be able to create a wallpaper with completely different columns on your backlog, upcoming tasks, WIPs, duties you need to prioritize, and completed work.
I’ve additionally seen individuals use sectioned wallpapers on completely different days of the week to maintain monitor of their subsequent due date. I extremely suggest this method if you happen to wrestle with deadlines!
4. Use a Chrome extension to pre-organize your screenshots.
Screenshots are one of many largest contributors to desktop muddle. While you seize a screenshot on a Mac (Command + Shift + 3) or PC (Alt + Print Display screen), the picture is saved on to your desktop.
If screenshotting is one thing you do loads, you’ll discover that it doesn’t take lengthy to make a large number of issues.
To keep away from having your screenshots mechanically saved to your desktop, you should utilize a display screen seize device such because the Superior Screenshot extension for Google Chrome.
Not solely does this device offer you extra superior display screen seize capabilities — annotations, selective seize, delayed seize, and many others. — however it additionally goals to simplify the best way you retailer your photographs.
With Superior Screenshot, you’ll be able to manually select the place you’d like to save lots of your file or create an account the place it can save you information for particular tasks. Right here’s the way it works.
1. Seize a picture by clicking the extension and deciding on an choice from the menu.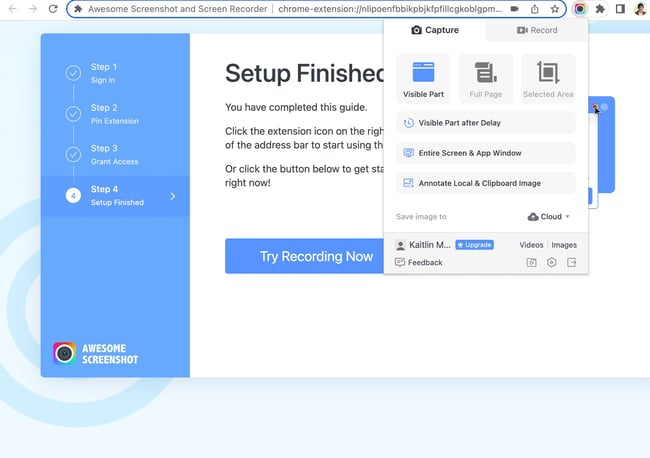
2. Choose your required saving choice from the best menu. For instance, if you happen to’d like to save lots of the picture to a mission’s folder on Superior Screenshot, choose Save on Superior Screenshot on the prime.
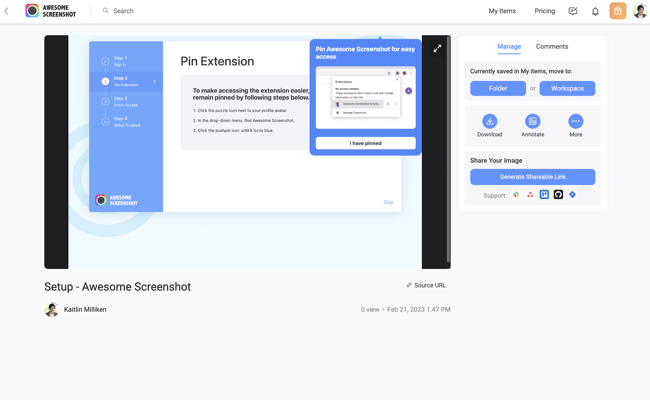
3. Insert a reputation on your file and determine which mission you’d like to put it aside to by deciding on an choice from the menu.
4. To entry your file, go to the suitable mission folder in your account dashboard. 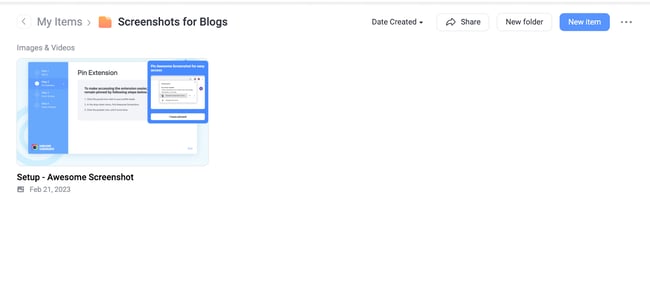
If you happen to’re on Home windows, you may also mechanically save your screenshots to OneDrive. As a substitute of going to your desktop or a custom-made folder, your screenshots will go to a cloud storage account. This resolution doesn’t use any storage in your gadget and permits you to entry your screenshots remotely.
Right here is how one can configure this setting:
- Click on on the OneDrive icon within the backside proper nook of your display screen.
- Search for the OneDrive Assist and Settings icon.
- Go to Settings, then Account.
- Scroll all the way down to Screenshots. You’ll have the choice to save lots of screenshots to the cloud mechanically.
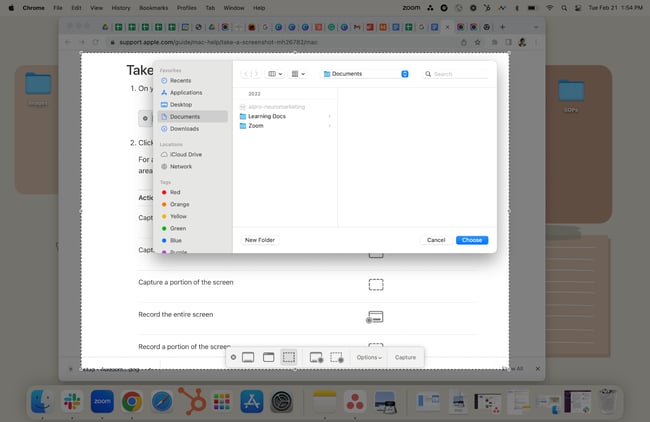
MacOS doesn’t have an analogous function, however you’ll be able to alter the place your Mac saves your screenshots by opening the Screenshot app. Go to the Choices, and also you’ll have the ability to select the place your screenshots go.
5. Get impressed by a motivational wallpaper.
Not a fan of the sectioned-off wallpaper? No worries. Different wallpaper choices can provide the motivation to remain organized.
In line with psychologist and motivation professional Jonathan Fader, inspirational or motivational messages typically inspire us to attempt more durable.
“There’s just a little little bit of implicit teaching that’s taking place while you’re studying it. It’s constructing that self-efficacy in that type of dialogue that you just’re having with your self,” he explains.
So if you happen to’re searching for just a little teaching that will help you keep organized, including an inspirational message to your desktop can function a pleasant, every day reminder.
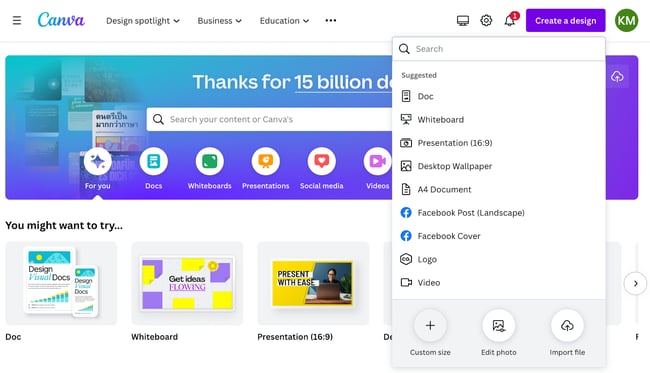
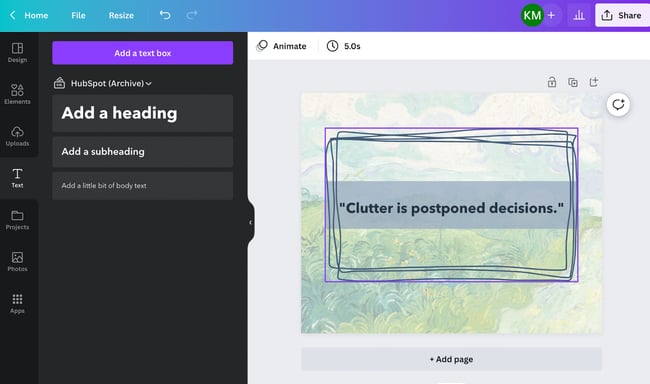
Wish to create your personal motivational wallpaper? Observe the directions beneath to discover ways to use Canva.
1. Click on “Use customized dimensions” within the prime right-hand nook and add your dimensions. A number of the most frequent desktop wallpaper resolutions are 1024 x 768, 1280 x 1024, and 1920 x 1080.
2. So as to add a background picture, click on on Parts > Photographs. It’s also possible to select a plain coloration or sample background by deciding on Background.
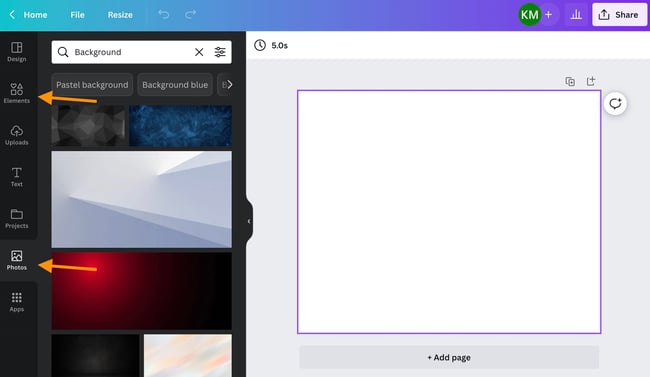
3. Choose a photograph and alter the scale utilizing the resizing factors round it.

4. So as to add textual content, click on on Textual content and select a heading or template from the choices listed. Alter the template textual content by including your quote of alternative. (I selected a quote from Barbara Hemphill on muddle.)
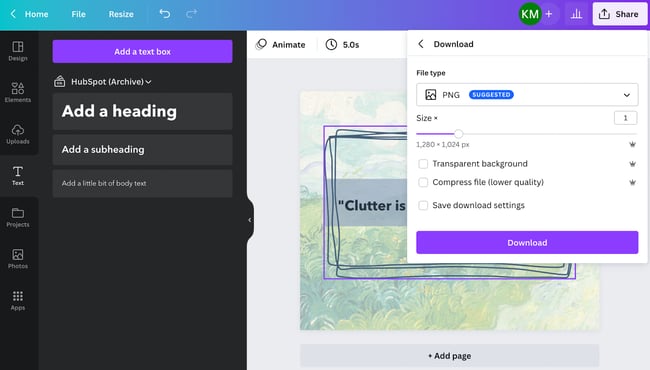
5. To avoid wasting your creation, click on the Obtain button within the prime right-hand nook and choose Picture: prime quality (PNG).
To set this picture as your wallpaper on a Mac or Home windows pc, seek advice from the next tutorials:
6. Spend money on a storage resolution.
If you happen to’re always managing and organizing quite a lot of information, spend money on an utility like Dropbox to handle your belongings higher.
The file-hosting service Dropbox presents cloud storage and file synchronization. Customers can create a folder on their computer systems that syncs with the service, making it straightforward to entry the content material it doesn’t matter what gadget you’re utilizing.
Moderately than dragging all the pieces onto your desktop, merely retailer it in Dropbox, the place you’ll be able to shortly and simply seek for it everytime you want it.
It’s also possible to share folders with different customers to create a central area on your shared information. Having others wait on you to find a selected file prevents bottlenecks.
For Mac customers, syncing content material to your iCloud Drive is simpler to again up necessary information. It can save you time when decluttering your desktop since all of your information and folders will stay within the cloud. Plus, you’ll be able to sync completely different Apple units and retailer all of your paperwork in a single location.
Microsoft OneDrive presents an analogous service for Home windows customers. You possibly can activate automated syncing to have your pc again up all of your information to the cloud. The free fundamental plan contains 5GB of storage, however you’ll be able to improve with a paid subscription.
If you happen to use productiveness apps like Microsoft Phrase, Excel, Writer, and extra, it’s best to know that Microsoft presents a bundle that features the 365 suite and 1TB of cloud storage. Plus, you’ll be able to hyperlink to information saved in OneDrive in your emails as a substitute of importing connected information.
Google Docs could be a nice match for individuals who typically share information with different workforce members. You mechanically get 15GB of free storage along with your Google account and might simply add necessary paperwork to share or entry them remotely.
Clear desktop. Organized information. It’s a win-win for everybody.
7. Schedule a weekly or month-to-month cleansing.
As proven by the instance we used again within the first tip, it’s straightforward on your desktop to get type of, nicely… scary.
To make sure that you’re maintaining with desktop upkeep repeatedly, set a recurring occasion in your calendar to remind you to do away with something pointless. This could be a weekly or month-to-month occasion, relying on how a lot injury you usually do.
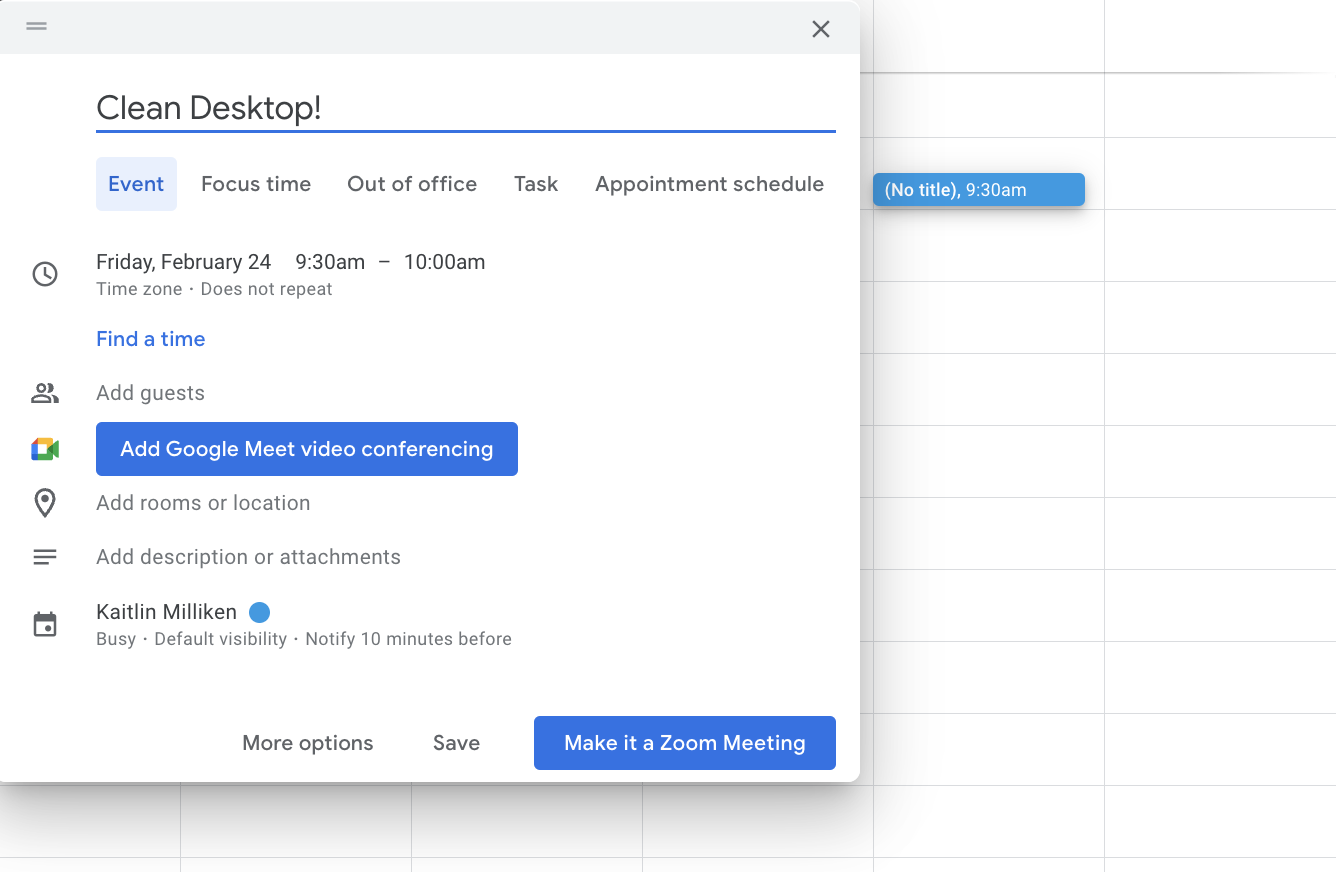
Alt Textual content: organizing desktop calendar occasion
IMG identify: clean-desktop-calendar
Apart from protecting your desktop clear, scheduling weekly cleanups ensures you don’t maintain doubtlessly delicate paperwork longer than you need to.
Knowledge breaches went up by 37% between Q3 2021 and Q3 2022. It’s a critical risk. A misplaced or stolen gadget can jeopardize private data and invaluable IPs.
You possibly can considerably mitigate this threat by moving into the behavior of deleting information you now not use each week.
8. Delete or pin app icons.
Do you know that companies typically use over 200 apps? It’s straightforward to finish up with a cluttered desktop when your employer requires you to make use of so many alternative instruments.
You possibly can take management of your app icons by putting in Toggl and making a free account. It’s a productiveness app that tracks your time on completely different duties. There’s a built-in function that may let you know the time you spend on particular apps and software program so you’ll be able to increase your productiveness.
After utilizing Toggl for a few weeks, it’s best to know which apps you employ probably the most. If there are apps you didn’t use in any respect, it’s time to delete their desktop shortcuts.
As soon as you realize which apps you employ probably the most, pin them to your taskbar or dock:
- On Home windows 10 or 11, click on Begin, search for the app, and right-click on it. Choose Extra and Pin to the taskbar.
- On Mac, open the Shortcuts app. Click on on a shortcut, choose File, and Add to dock.
9. Customise your icons.
You don’t must restrict your self to the default icons in your pc. You need to use clear desktop icons to make necessary information and paperwork stand out or create a color-coded group system.
Right here is how one can change icons on Home windows:
- Proper-click on the desktop icon you need to change.
- Click on on Properties, then Shortcut.
- Search for the Change Icon.
You possibly can look by the Home windows icon and select one which stands out or choose Browse to import icon information.
With some graphic design expertise, you’ll be able to obtain icon packs or make your personal icons. You’ll want .ICO information in 16 x 16, 24 x 24, 32 x 32, 48 x 48, and 64 x 64.
Altering icons can also be out there on Mac:
- Choose the file or doc.
- Choose File and Get data on the menu bar.
- A brand new window will open. Click on on the customized icon on the prime.
- Click on on Edit and Lower.
10. Manage your desktop with automated flows.
Why do all of the arduous work when you’ll be able to automate your weekly desktop cleanup session?
You need to use instruments like Energy Automate Desktop on Home windows and Mac Automator on macOS to automate desktop group.
These instruments help you create automated flows. If you happen to set file names, codecs, or creation dates as variables, it’s potential to create flows. With these file flows, your pc will mechanically transfer particular information to a folder, change their default icon with clear desktop icons, and even delete previous ones.
You possibly can run an automatic move by launching it by way of a desktop icon or create a weekly routine within the Home windows Job Schedule or Mac Automator Device.
Be aware: This technique is greatest for superior customers. With this beneficial video tutorial, you can begin creating organizational flows with Energy Automate Desktop or discover ways to set up your desktop with Mac Automator.
Editor’s Be aware: This submit was initially printed in December 2015 and has been up to date and for freshness, accuracy, and comprehensiveness.